

School is upon us and if this year’s stationery list has made you grey, here are some tips from this mom of seven, with five children at school, to save you some pennies next year.
Tips from mom
1. Spring-clean
It seems unrelated, but while the children are still home and bored let them clean. Lots of stationery and other long lost items will suddenly find their way home again when you move the beds, strip the mattresses and repack the cupboards and school bags.

2. Buy the name brands
This tip may seem counterintuitive, but quality versus quantity is the key to this hack. The cheaper brand is usually inferior and gets used up or breaks more quickly, while the better-quality brand gives you better value for money as it needs to be replaced less frequently.
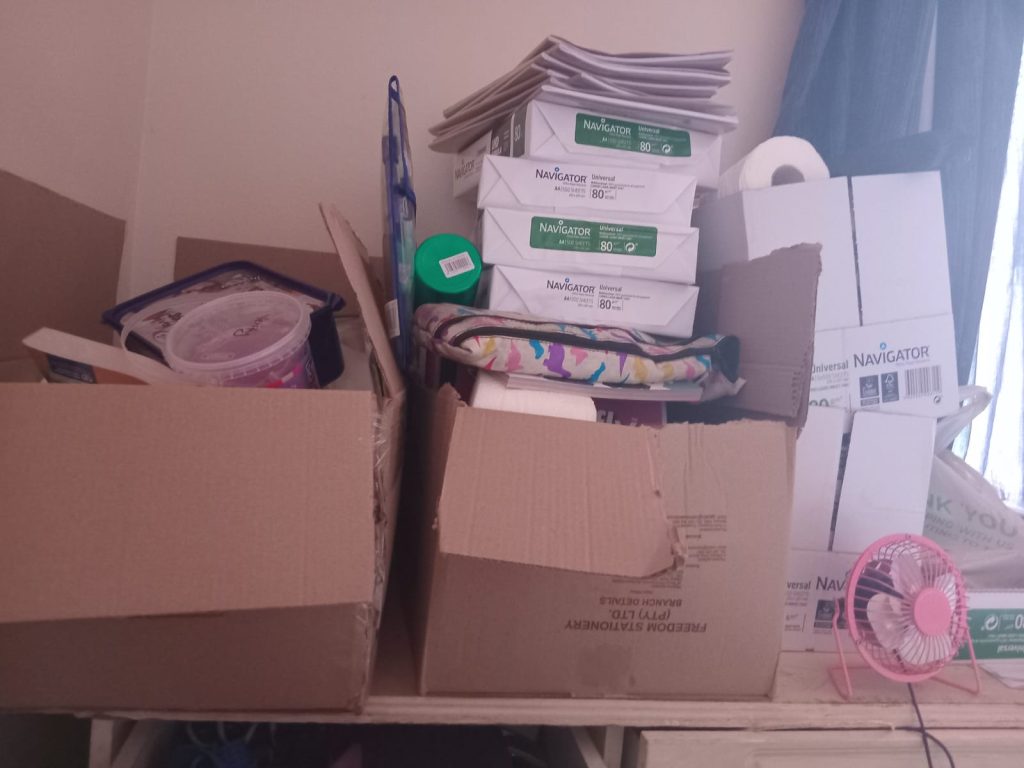
3. Stock-up throughout the year
The worst time to buy something is when it is in demand, because that’s when the price goes up. Keep an eye on the sales pamphlets throughout the year and when the prices drop, stock-up. Which also brings me to the next tip…
4. Buy in bulk
Things that don’t expire but are used up quickly, such as pencils, erasers, books and so on can be bought in bigger quantities when they are cheaper and stored until they are needed, and if your child no longer needs triangular pencils then…
5. Swap with friends
Do you have leftover books with Irish margins that your child only needed for Grade 4, or unlined books that you zealously over-bought extra for Grade 1 that you’re now stuck with? Reach out on social media groups and see if there are parents who would like to swap or buy it from you.
ALSO READ: How to keep school costs from ruining your January
6. Browse the thrift spots
Thrift shops, church bazaars and car-boot sales are good places to browse for discounted stationery. You may even find other useful items that are going for a steal.
7. Put some skin in the game
A lot of stationery or school items are lost throughout the year because it takes some children time to learn to be responsible. They learn it a lot faster though if they have some skin in the game. If you’ve had to replace a lost item multiple times, then attach a penalty. Dish out pocket-money fines or screen time bans for items lost due to irresponsibility and the lesson will hit home a lot sooner.
8. Re-use
All those brown-paper shopping bags and saved pieces of giftwrap work just as well as book covers. Make a point of saving them and if your little one wants to add some colour, decorating their own brown-paper book covers can be a fun holiday project.
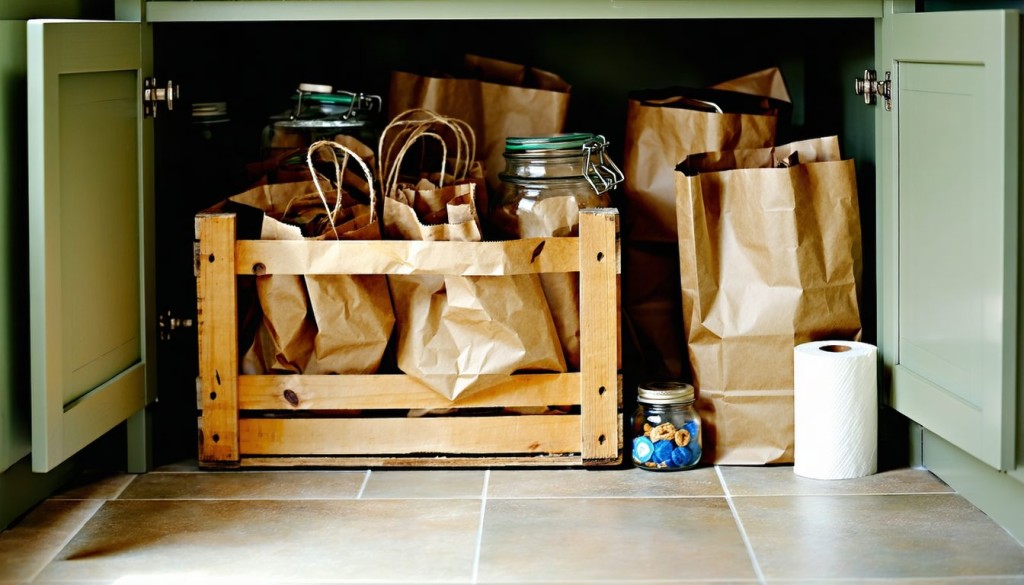
9. Save the packaging
Don’t throw out your cereal or tea boxes. It can be reused as cardboard for school projects.
Likewise with all the plastic packaging that comes with deliveries. A lot of it can be re-used to cover books and some of the bigger zipped bags can be reused as pencil bags. You won’t only save your pocket but the environment too.
10. DIY
Some items on the stationery list, like paint and play dough, can be made at home from items in your kitchen.
No cook play dough
Grade Rs and 1s usually have playdough on their school stationery lists.
INGREDIENTS
- ½ a cup of salt
- 1 cup of flour
- Food colouring or paint
- Lukewarm water
- A teaspoon of cream of tartar
- Tablespoon of oil
METHOD
Mix the dry ingredients together.
Add the oil and slowly add the water while kneading to make a soft dough.
When the dough is no longer sticky, portion and add a few drops of food colouring.

Home-made paint
INGREDIENTS:
- ½ cup flour
- ½ cup salt
- ½ cup water
- Food colouring
METHOD:
Blend ½ cup of fl our with ½ cup of salt. Add ½ cup of water slowly and whisk until smooth.
Divide into equal portions and put into squeeze bottles or empty and cleaned sauce bottles.
Add a few drops of food colouring and shake. Or, put into plastic packets, tie them securely (maybe use ziplock bags) and allow children to squish the colours into the mixture.
Cut a corner and squeeze the paint mixture into the bottle.
Home-made glue
This recipe dries clear and lasts for
months when stored in the fridge. In
a pinch it can be used as a stick glue
replacement if there’s enough time to let
it dry.
INGREDIENTS
- 1 cup corn flour
- 1 tablespoon of white vinegar
- 2 teaspoons of salt
- 4 cups of hot water
METHOD
Add all the ingredients to a pot and whisk until smooth.
Boil on a high heat until the mixture thickens and becomes clear (a few minutes). Allow to cool and pour into a glass jar to store.
ALSO READ: Rising costs of school uniforms add stress for parents amid financial strain
Papier mâche
Not quite a stationery item but papier mâche is another life saver for school projects.
INGREDIENTS
- Flour
- Water
- Salt
- Paper cut into strips
- Mold (whatever shape you would like to sculpt)
METHOD
Mix the fl our and water and whisk until it is smooth and resembles thin pancake batter. Add a few tablespoons of salt to prevent mould.
Cut paper into 4 cm-wide strips.
Dip your strips into the paste and run through your fi ngers to remove excess paste.
Lay the strip over mold, pressing it into place.
Continue until your mold is covered.
Extend the edges of the paper strips beyond the rim of your mold. This will be
trimmed once dry.
Put in a warm place and allow to dry completely. This may vary depending on the weather. The back of the fridge gives constant heat and is the perfect place to store anything that needs gradual drying.
Once dry, add another layer and allow to dry.
Continue adding layers until the sculpture is the desired thickness. Allow to dry completely and paint.
If you want to give your creations some longevity you can add a few layers of varnish.
Salt dough (for sculpting)
INGREDIENTS
- ½ a cup of salt
- 1 cup of fl our
- Food colouring or paint
- Lukewarm water
METHOD
Mix the dry ingredients together.
Slowly add the water while kneading to make a soft dough.
When the dough is no longer sticky, it is ready for sculpting.
To colour your creations you can either add the food colour or paint to the portioned dough before you sculpt or you can sculpt, bake and paint afterwards.
Once the sculptures are complete, bake in the oven at 250ºC until hard or put in a sunny windowsill for a few days (the length of time may vary depending on thickness).
This dough comes in handy for school projects that need sculpting.


You must be logged in to post a comment.